A tutorial on how to easily modify the markup generated by Umbraco 8's Markdown editor and tailor it to your specific needs. If you need to add custom classes, ids or html to the output, I explain how that can be achieved here.
What is the Markdown and why it can benefit you
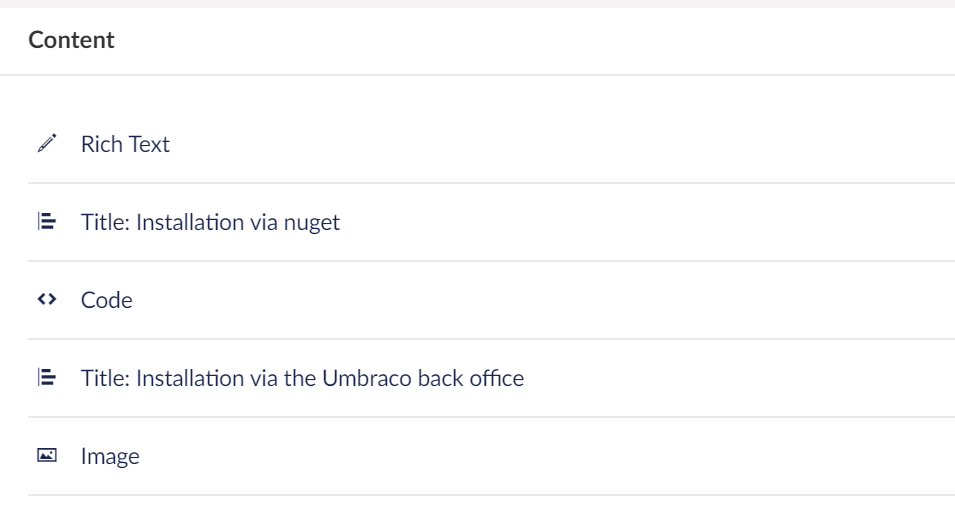
As a developer and site author I want to increase my productivity when writing posts. I have until now been building and writing content for this blog via nested content blocks. I'd create content blocks for my images, rich text, quotes etc... and add them to the page.
This is a great approach for building landing and marketing style pages that have rich content populated by pickers. However, It doesn't work well when writing blog posts and tutorials. It was taking a long to time to create all of the content and it's a little overly-complex to have a large list of nested content to represent one article, therefore a more streamlined solution was needed.

Multiple content blocks, easy to understand and build, harder to maintain.
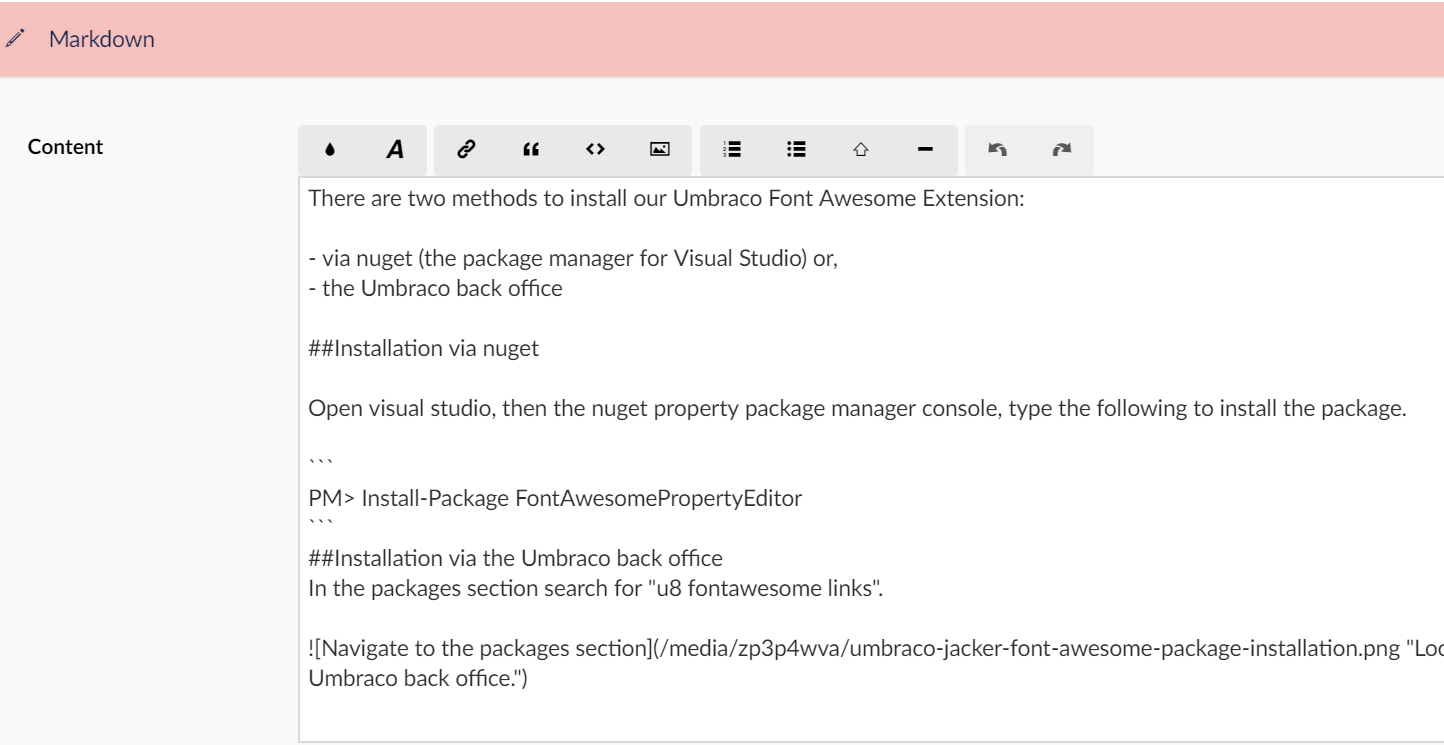
I came across a video by John D Jones, where (along with his goals for 2020) he discusses using Markdown and how writing all his posts in Markdown had meant he could write content for his site much quicker. Good stuff! He also has an post discussing how he has been able to modify the output of the Umbraco 7's Markdown editor with HtmlAgilityPack.

One Markdown content block for a streamlined writing approach, requires knowledge of Markdown.
Modifying the Markdown rendering
In my case the output rendering of the Markdown wasn't exactly what I needed. So I decided to use HtmlAgilityPack to add styling, classes, html and other goodness automatically to the rendered output so that it matches my other nested blockscontent. Thankfully, this is pretty easy to do with HtmlAgilityPack.
I have listed below the code I used to get the required html rendered via Markdown.
Retrieve all headings, insert elements before them, set id's and add classes
First create a new HtmlDocument and load your Markdown content into it:
var htmlDoc = new HtmlAgilityPack.HtmlDocument();
htmlDoc.LoadHtml(Model.Content.ToString());
Find the heading elements, in this case I am only interested in H2's:
var h2s = htmlDoc.DocumentNode.Descendants("h2").ToList();
Now loop through the h2 elements, set the attribute values, insert the hr and set some classes:
foreach (var h2 in h2s){
  var hrNode = HtmlNode.CreateNode("<hr></hr>");
  hrNode.SetAttributeValue("id", h2.InnerText.ToUrlSegment());
  htmlDoc.DocumentNode.InsertBefore(hrNode, h2);
  h2.SetAttributeValue("class", "title is-size-4");
};
Replace the code elements with pre
I now also want to replace the code elements, with pre tags, below shows how to replace them:
  var codes = htmlDoc.DocumentNode.Descendants("code");
  foreach (var code in codes.ToList())
  {
    var pre = HtmlNode.CreateNode($"<pre>{code.InnerText}</pre>");
    code.ParentNode.ReplaceChild(pre, code);
    code.Remove();
  }
Replace images to be left aligned with title / description and set responsive image srcset
This example is a bit more complex, it completely replaces the img tag with the html for a left aligned image. I have also switched out the src tag to use srcset for responsive images. The title and alt attributes of the image have been used to add text next to the image.
    var images = htmlDoc.DocumentNode.Descendants("img");
    foreach (var image in images.ToList())
    {
       // set a class on the image
        image.SetAttributeValue("class", "is-background");
        // set the srcset attribute from a helper function
        image.SetAttributeValue("srcset",  SetImageSrcSet(image.GetAttributeValue("src", "")));
        // remove src as don't need it
        image.Attributes.Remove("src");
        // get the parent node
        var parentNode = image.ParentNode;
        // create html structure
        var container = HtmlNode.CreateNode(
            $"<div class=\"columns\">" +
                $"<div class=\"column\">" +
                    $"<div class=\"image">" +
                        $"{image.OuterHtml}" +
                    $"</div>" +
                $"</div>" +
                 $"<div class=\"column\">" +
                    $"<p>" +
                        image.GetAttributeValue("alt", "") +
                    $"</p>" +
                    $"<p>" + image.GetAttributeValue("title", "") + "</p>" +
                $"</div>" +
            $"</div>");
// replace the image node with the new container node
parentNode.ReplaceChild(container, image);
}
The following function to used to set the srcset for responsive images, it uses GetCropUrl to retrieve images appropriate to the browser width.
@functions {
    public static string SetImageSrcSet(string url)
    {
        var imageSrcSet =  url.GetCropUrl(480) + " 480w, " +
                     url.GetCropUrl(769) + " 769w, " +
                     url.GetCropUrl(1024) + " 1024w, " +
                     url.GetCropUrl(1216) + " 1216w, " +
                     url.GetCropUrl(1408) + " 1408w";
        return imageSrcSet;
    }
}
Finally after all of the html manipulation has been done, we render it out.
var html = new HtmlString(htmlDoc.DocumentNode.OuterHtml);
@html
The other major benefit of this approach is that my content remains Markdown and doesn't have styling or html mixed into it. This means that I can easily in the future move my content to a new site or platform.
As always, thanks for taking the time to read this, please reach out to me if you have any comments or suggestions.
Happy Umbracoing!
-- Matt

